The Editor
The Editor is what separates Image Map Pro from the competition. It's a very powerful tool that gives you a lot of control over the end result. In this section we will explain some basic functionality to get you started quickly.
Creating a New Interactive Image
To create a new image map, click the New button in the top-left corner of the Editor, enter a name and click Create.
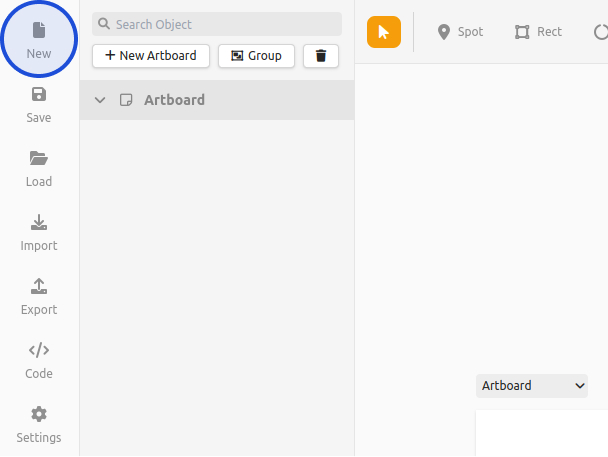
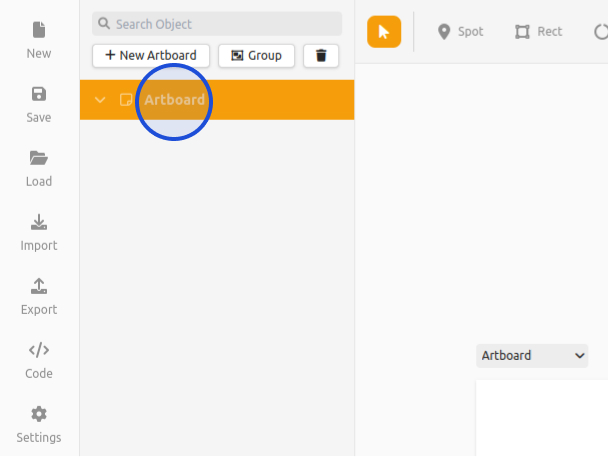
The editor uses Artboards (similar to Sketch, or Frames in Figma). To set a background image for an Artboard, first make sure it is selected in the object list on the left:
The selected artboard settings will appear on the right. Under Background, choose Image and enter a URL to your image. On WordPress, simply choose an image from your media library.
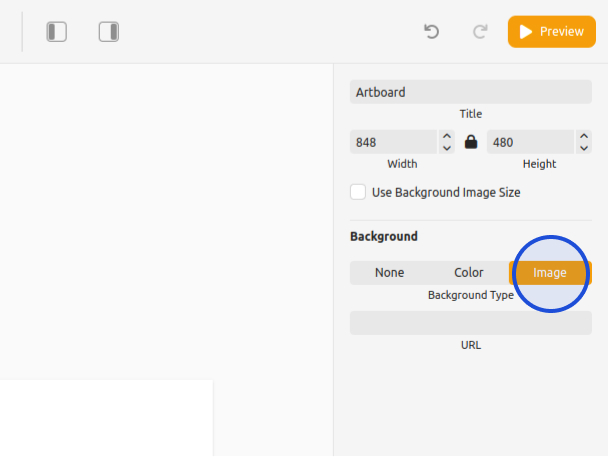
Image Size and Responsiveness
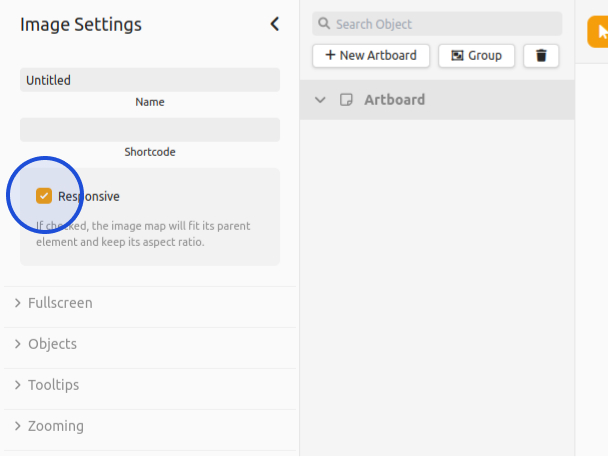
When you place the interactive image on your website, by default it will fill its container. For example, if you place it in a 600px wide element, the image will also be 600px, while keeping the aspect ratio of its current artboard.
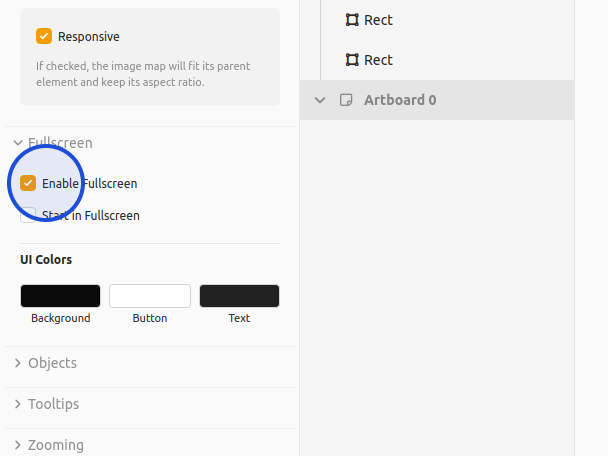
This behaviour can be disabled from the Settings, by unchecking Responsive:
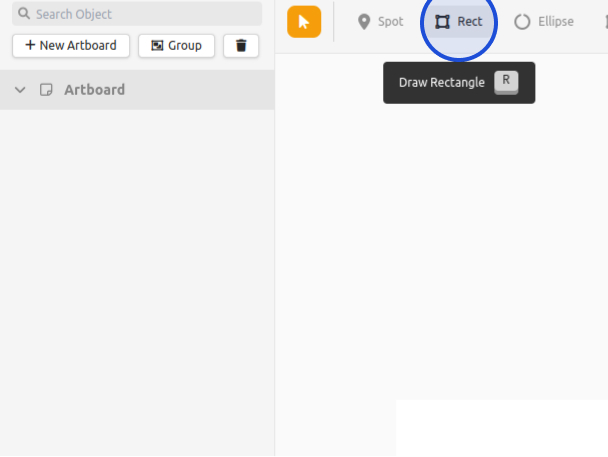
Drawing Shapes
To start drawing shapes, choose a tool from the toolbar. To create a rectangle, select the Rect tool, then click and drag on the canvas.
When drawing a polygon, in order to complete the drawing process you have to click on the first point from where you started drawing (or press Enter). Then it will be possible to add, remove and move points from the shape. You can remove points using the right mouse button on a point, and add points using the left mouse button on one of the borders of the polygon.
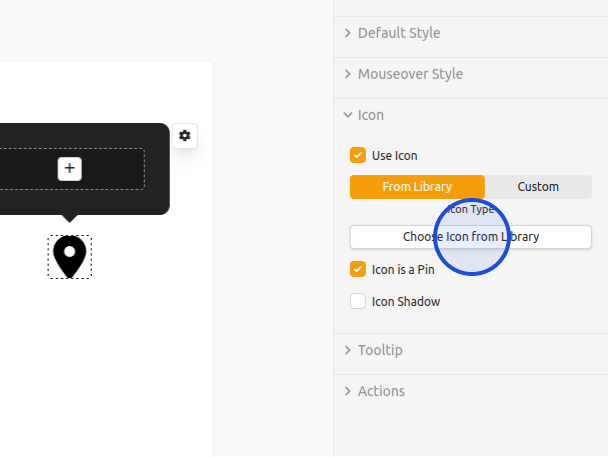
Placing Icons
To place an icon on the image, start by selecting the Spot tool and click on the image to place it.
To change the icon, select it by left clicking on it in the canvas, or in the object list on the left. Expand the Icon settings and click Choose Icon from Library. Alternatively, you can use your own icon, by clicking Custom for Icon Type.
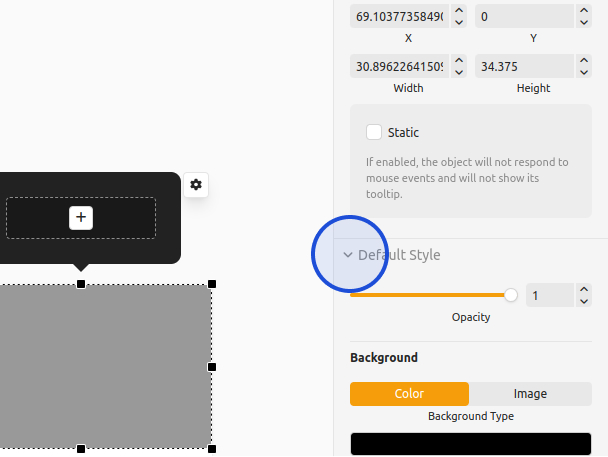
Styles
To change the style of a shape, like color or opacity, first make sure that the shape is selected. You can select a shape by clicking it in the object list (on the left), or by clicking on it in the canvas, while in Edit Mode. Then, you can see the settings for Default Style and Mouseover Style in the right menu. Experiment with different settings and use what you like!
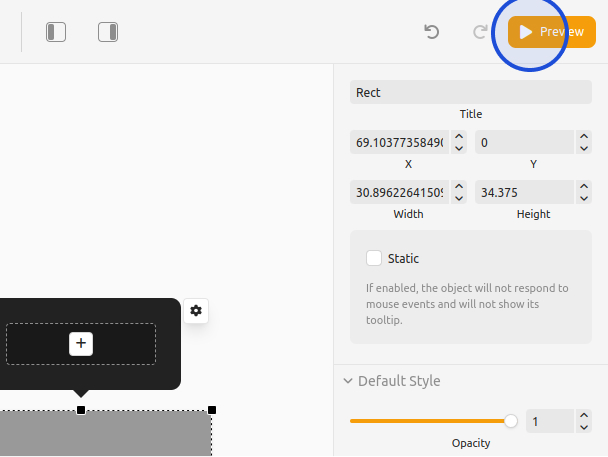
Preview Mode
At any point you can click the Preview button on the top-left side of the Editor to see how the image will look like in the end. You can still make changes to the settings and the preview will instantly update itself.
Save and Load
Don't forget to save! You can create as many interactive images as you wish, and you can switch between them by clicking Load and choosing the image that you saved previously.
Import/Export
With the Import and Export buttons from the Editor you can migrate your interactive images to another website, or make backups. Moreover, if you can work your way around the JSON code, you can make modifications!.
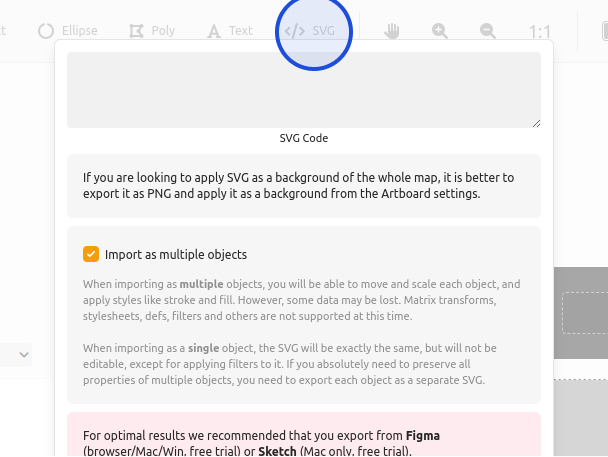
SVG files can be imported in your interactive image as an object that you can make interactive. For example, you might already have an illustrator file with schematics, which you don't want to rebuild from scratch. Now you can import those objects in Image Map Pro as SVG. To import an file, click the SVG button from the toolbar and paste the SVG code in the popup window. You have the option to import the file as a single object, or as multiple objects.
Keep in mind, that using Import and Export buttons you can duplicate your interactive images. Firstly, you have to create a new image from the New button. After that, you can export and import (into the new project) the JSON code of the image which you want to duplicate.
Connected Objects
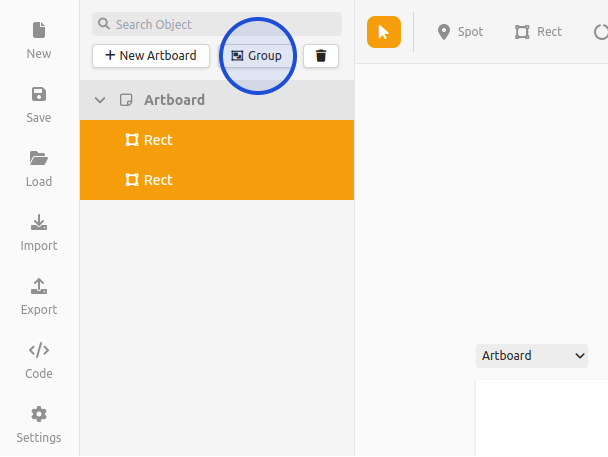
It is possible to have multiple objects linked together. For example, when you mouseover one object, several other objects around it will highlight as well.
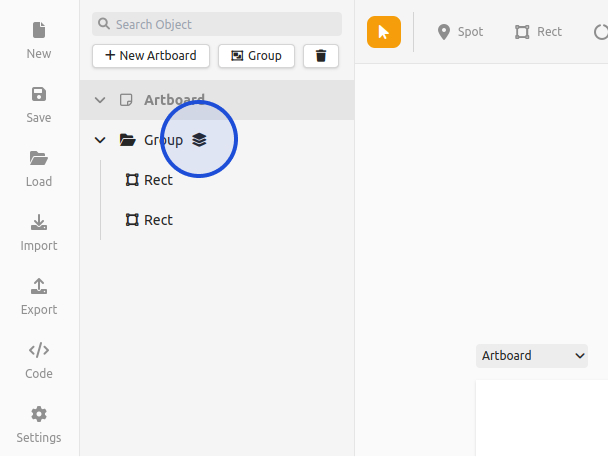
This can be achieved from the Object List on the left. Select the objects that you wish to combine by holding SHIFT, and press Group. Next, select the newly created Group and from the settings on the right enable Single Object.
You can freely add and remove objects from that group by dragging and dropping them in the Object List. It's also possible to have multiple nested Groups!
Glowing and Animation
To make the objects stand out to the end user, you can enable glowing or a pageload animation. Open the Settings from the left and expand the Objects section. There you will find the following options:
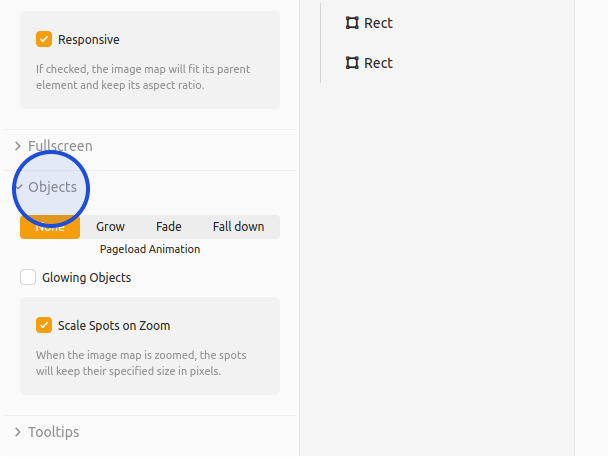
- Page Load Animation - when the interactive image loads, it will animate the objects in sequence. You can choose between Grow, Fade, Fall down, or None.
- Glowing Objects - by activating that option you will set glowing effect for all objects and icons on the image. You can set specific Glow Color and Glow Opacity. If the Glowing on Mouseover is active the glowing effect will stop for all objects and icons when you mouseover one of them.
Object List
If you have a lot of objects on your interactive image, you might wish to enable the Object List. Open the Settings from the left and expand the Object List section. Click Enable Object List.

From here you have several options. You can position the list on the left, or on the right. You can make it detached and insert it anywhere on your page.
Multiple Floors (Artboards)
Your interactive image can contain multiple "floors", or artboards. For example, if you have an image of a building and you want clicking a floor to open a floor plan, you would want to create multiple artboards with their own unique images, one for each floor.
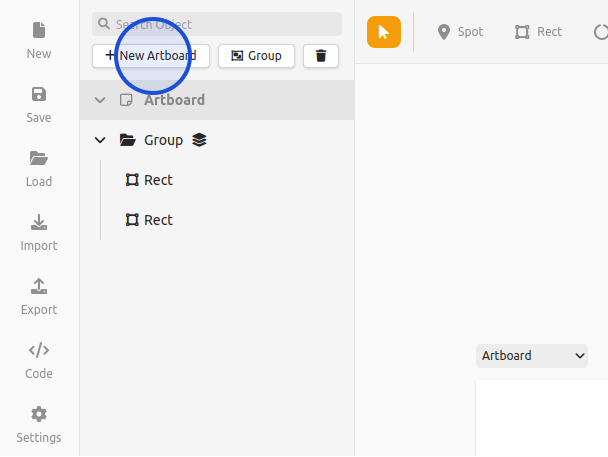
Artboards can be created by clicking the New Artboard button on the left:
To change an Artboard's background image, simply select it and its settings will show up on the right.
Additionally, you can freely rearrange Artboards and Objects from the Object List by clicking and dragging.
Zooming
If you have a complex interactive image with lots of small objects, you can improve usability by enabling Zooming. Open the Settings, expand the Zooming group and click Enable Zooming.
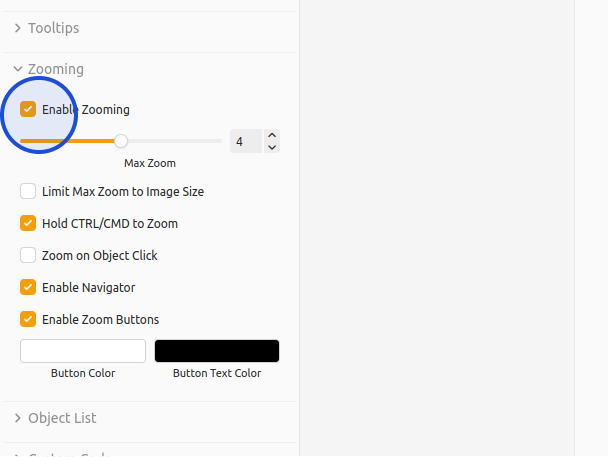
You have a few options to customize how zooming works on your image:
- Limit Max Zoom to Image Size - the image will not zoom more than its actual size, in order to preserve quality.
- Hold CTRL/CMD to Zoom - when the user is scrolling the page and the mouse goes over the image, the scrolling will stop. Enable this option to prevent that behaviour.
- Zoom on Object Click - clicking an object will zoom on it.
- Enable Navigator - A navigator window will appear on the bottom left of the image. Note that objects are not displayed on it, only the background image.
- Enable Zoom Buttons - Displays zoom in/out buttons on the bottom right.
Fullscreen
Just like zooming, being able to make the interactive image fullscreen can improve its usability, especially on mobile. Open the Settings, expand the Fullscreen group and click Enable Fullscreen.
A button will show up on the bottom right of the image (in preview mode) and clicking it will create a new fullscreen instance of the image.