
Founder & Developer
Feb 8, 2023
How to add interactivity to an engineering sketch
Image Map Pro makes adding interactivity to any image is super easy. In this example we will take an engineering sketch and highlight the different components.
In this article we will create the following interactive image:
There are a few things going on here. We have an object list on the right, also zooming and fullscreen mode are enabled. On the image itself, for each component that we want to highlight there is an invisible polygon around it, as well as a spot that is connected to it.
Let's get started!
Creating a new project
Start by clicking New from the sidebar on the left. Enter a name for your new project, select Blank template and click Create.

Setting the background image
When we created our new project there is already a default artboard, called "Artboard". You can see it in the object list on the left:
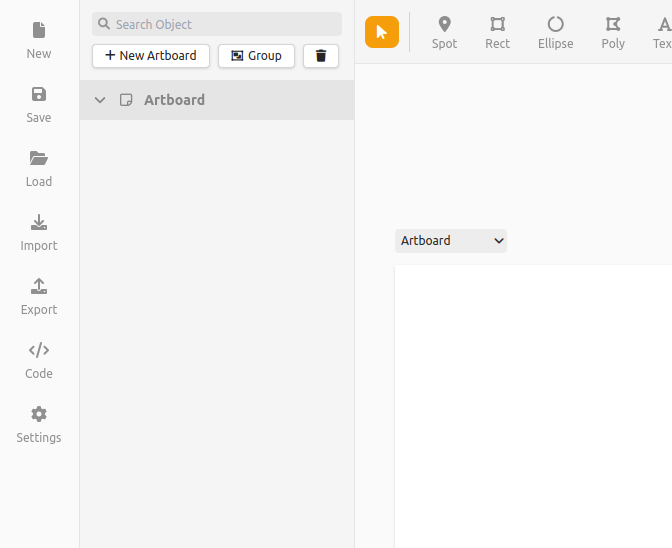
Left-click to select it and its settings will appear on the right:
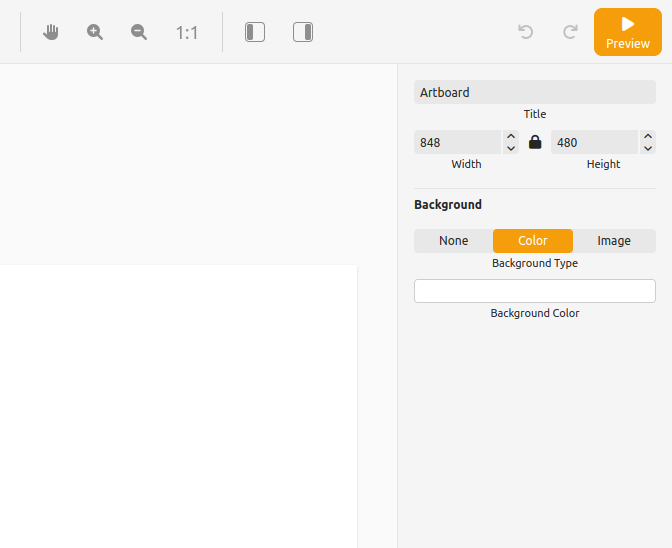
Under Background, select Image and either choose an image from the WordPress Media Library, or enter an URL, depending on which version of Image Map Pro you are using.
This is the image from the example in the beginning of this article.
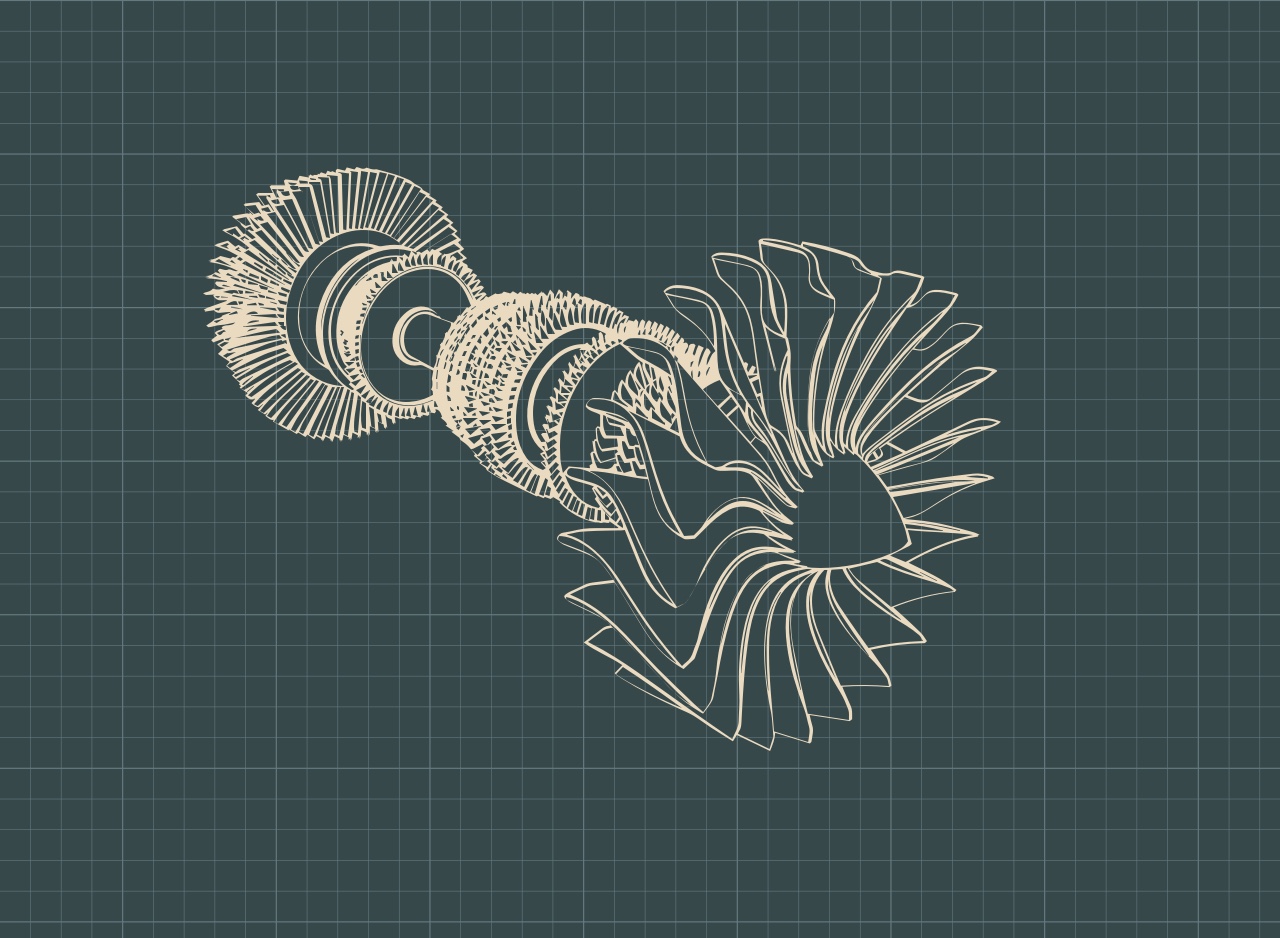
Every artboard has its own size, and by default it's 848x480 px. We want to use the size of the image, so check "Use Background Image Size" after you have specified an image.
Creating the objects
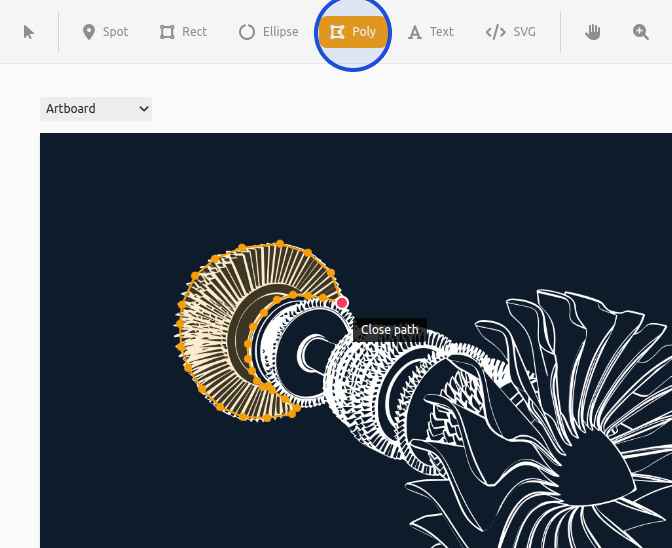
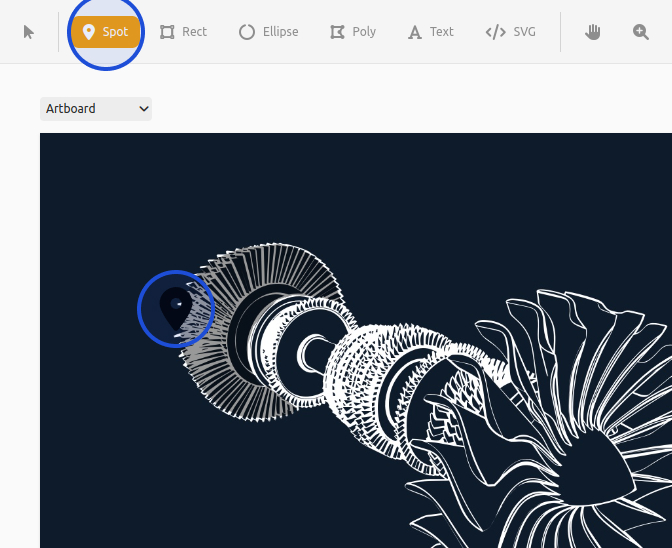
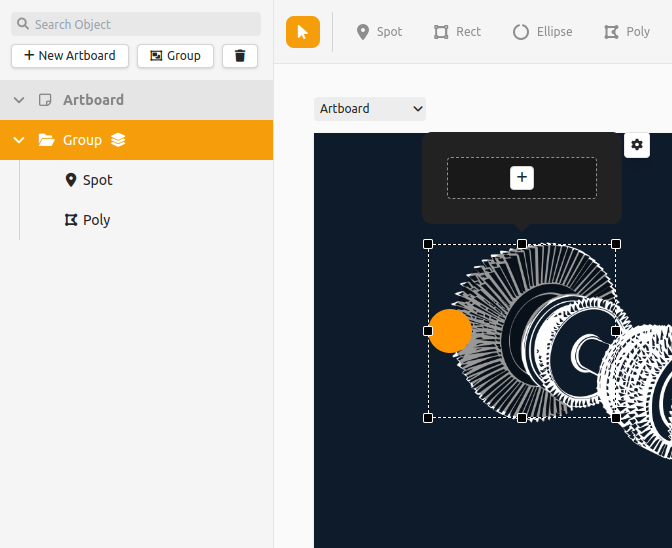
The process of drawing polygon shapes is very similar to other vector programs like Sketch or Figma. Select the Poly tool and draw a polygon around each object that you wish to highlight:
Additionally, select the Spot tool and place a spot next to each object:
Connecting the objects
Enter Preview mode by clicking the Preview button on the top right to see how we're doing so far. Notice how when you mouseover a spot, the polygon doesn't highlight. Let's fix that!
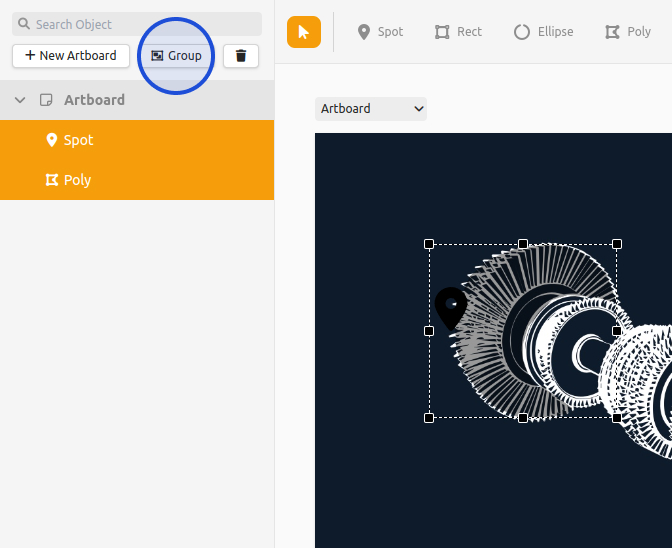
Exit Preview mode. From the object list on the left, select the spot and the polygon that you wish to connect together. You can select multiple objects by holding SHIFT or CTRL/CMD and clicking on objects from the list. Click the Group above the list:
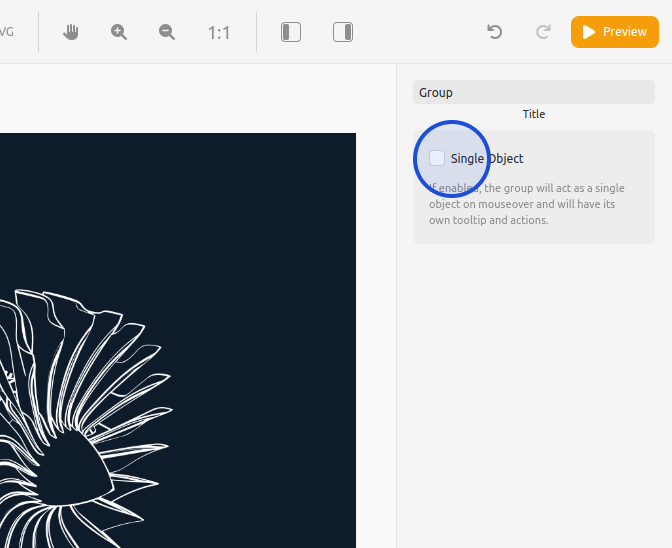
Grouping objects together has no effect, other than to organize the object list (both in the editor and in the final product). In order to "connect" objects together, select their parent group and from its settings enable Single Object:
Enter Preview mode. Notice how whenever you mouseover the spot, the polygon will highlight too!
Setting styles
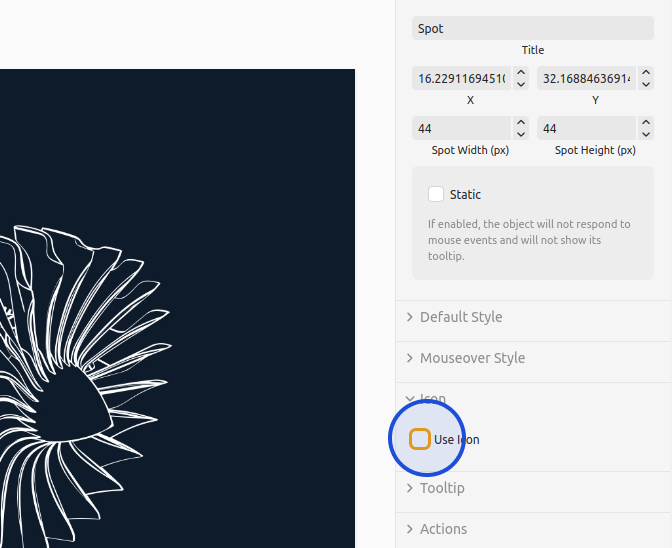
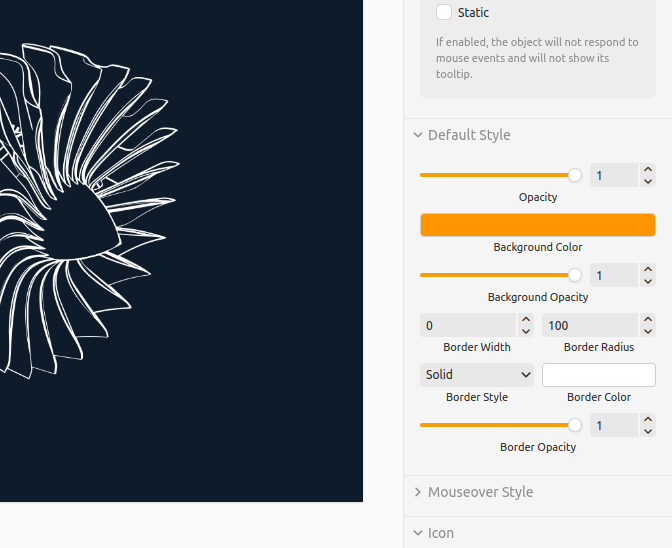
Now let's make the objects more pretty. From the object list select all spots by holding down CTRL/CMD and clicking on each one. From the object settings on the right, expand Icon and disable Use Icon:
Next, expand the Default Style category and change the Background Color to orange, set a Border Radius to some high number like 100 and Background Opacity to 1:
Finally, expand the Mouseover Style category and click Copy from Styles.
In a similar way, make the polygons transparent as their default style, and on mouseover make them orange with some transparency.
Adding tooltips
Now it's time to add tooltips and some content to each object. An important thing to note - when we specified that each Group is a Single Object, this creates a new tooltip that belongs to the Group. Any tooltips that existed on a child object are now inactive.
Start by selecting a group. A tooltip will appear above it in the canvas:
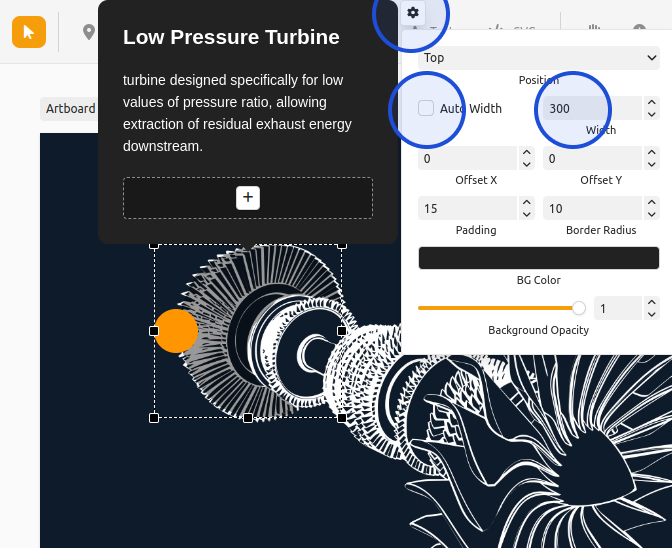
Click the "+" and add a title and a paragraph. Enter some example text.
By default, tooltips will have auto width, which might not work well if you have long paragraphs of text. To set fixed width, click the Settings button of the tooltip, disable Auto Width and specify a new width in pixels:
Feel free to experiment with different settings, such as background color and opacity!
Enabling zooming and object list
Finally, let's add some more functionality to our image. Open the Settings from the sidebar on the left and expand the Object List category:
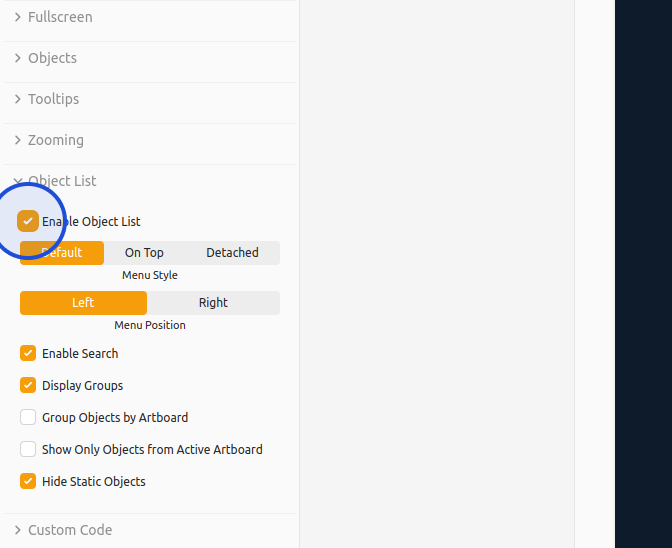
Click Enable Object List and for Menu Style choose "On Top". We don't need to have a search box, so disable the Enable Search checkbox.
Additionally, enable Zooming and Fullscreen from their settings categories, just like we enabled Object List.
Conclusion
In this article we created an interactive image with connected objects, zooming, fullscreen functionality and more. Image Map Pro is a very powerful tool and there are many more ways to customize your image.
For example, we can make the objects "pulse", or appear with an animation from the Settings menu on the left.
If you need help using Image Map Pro or to report a bug, please contact us. We always try to respond within 48 hours.